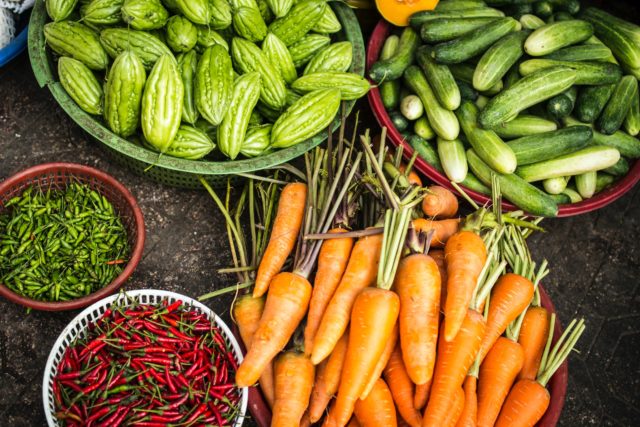
Overwhelmed by the abundance of fruits and veggies ripening in your garden? Does your CSA offer more cukes than you can consume? These tried-and-true methods of preserving produce will extend the expiration date on your farm-fresh bounty. For step-by-step instructions, we’ve linked to online resources from the National Center for Home Food Preservation. Your local library is also a great place to go for more detailed instructions and information on the science & history of preserving food!

DIFFICULTY
We’ve rated the processes on a scale of complexity. “Very Easy” indicates a straight-forward process that novices can dive into without worry, while “Easy” and “Moderate” indicate processes that are slightly more involved. Don’t let a “Moderate” rating deter you, though––just make sure to read the fine-print, or have a more experienced friend help you out the first time.
TIME COMMITMENT
“Time Commitment” indicates the time you have to actively be engaged with the process. Drying herbs––though it might take several weeks to become completely dry depending on your environment––receives a “Low” rating because most of the time is just spent waiting for the plants to dry. Canning, though it can be done in an afternoon, is a “High” time commitment, because the majority of that time is spent preparing the food, sanitizing the jars and being very engaged with the process.
1. Drying/Dehydrating
Difficulty: Very Easy
Time Commitment: Low

Drying is an easy and safe way to keep foods without refrigeration. Particularly for herbs, the investment is low (just hang them in a dry place with good airflow or spread them on a foods-safe screen) and the return is high: sipping mint tea from your own garden in January! With just a bit more preparation and equipment, you can also dry fruits and vegetables to enjoy year-round!
2. Freezing
Difficulty: Very Easy
Time Commitment: Low

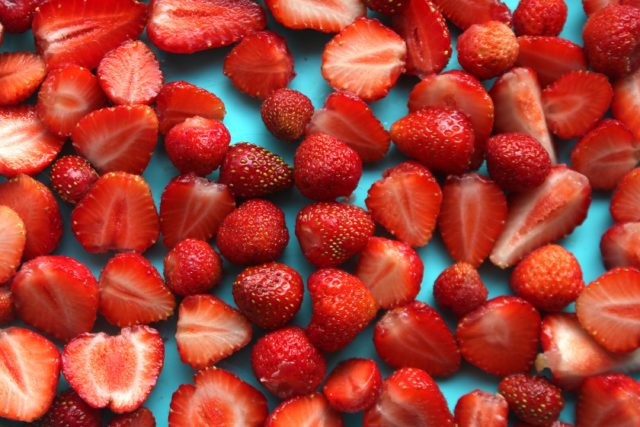
This is a method most modern home-cooks are familiar with. But you might be surprised by some of the vegetables that freeze well––peppers, rutabaga, and sweet potatoes all can be frozen! Some things can be popped directly into the freezer as-is; others, like strawberries, do best when frozen flat on a tray so they don’t stick together; greens and beans are best when blanched before freezing. For a more complete list, and information on what produce needs preparation, consult this list. (Tip: if you have lots of basil, pesto freezes very well, and you can portion it into single-servings for . You’ll thank us when eating garden-fresh pesto pasta this winter!)
3. Canning
Difficulty: Easy-Moderate
Time Commitment: Medium

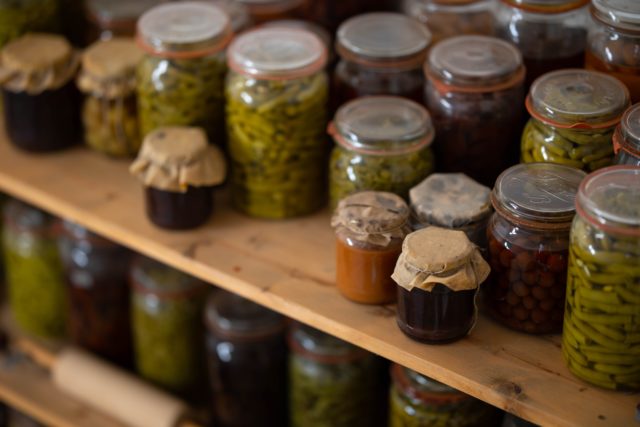
Bottle the taste of summer by preserving produce in glass jars! The most popular & easiest, not to mention most nostalgic, way to do this is making jams or preserves. With the basic principle of adding sugar––and sometimes extra pectin––to fruit and heating, you’ll be equipped to experiment with variations once you’ve made a few jams. One of our personal favorites twists is adding ginger to fruit jams. Another pro-tip: if it doesn’t set properly, just label it as “Fruit Compote” and serve on ice cream, oatmeal or frozen yogurt! Here’s information on making jellies and jams. (IMPORTANT: If you want to store it in a pantry rather than a refrigerator, sterilize your jars!)
If this post is making you wish you had a vegetable patch, reach out to our team of passionate professionals at NatureWorks Land Care––we can help you plan, plant, and cultivate the garden of your dreams.
Tune back in August for more ideas about how to store your summer crops so they sustain you through the winter!

